When creating graphic or typographic designs or laying out printed matter such as brochures, leaflets, or newsletters, knowing how to use GIMP to organize and move graphic elements can be very handy. In this article I will explore GIMP's alignment and distribution functions by creating a simple graphic design of colored circles.
Start by creating a canvas 1000 x 1000
pixels. On a separate transparent layer [1], use the Ellipse Select tool [2] to make a circle 100 pixels in diameter, fill it with red, then drag the selection to 120 x 120 pixels [3] and crop the layer to that size. Duplicate the dot layer five times and use Colors > Hue-Saturation to change each dot to another color.
In order to arrange the dots, they must remain on separate layers. The first thing to do is line them up horizontally with equal spacing between the dots. To align all the dots into a row, select the Alignment tool [4] (shortcut Q), which looks like a rectangle with four arrows coming out of it. Then, hold down the Shift key and left-click on each dot. You'll see square selection indicators around each one [5]. In the Tool Options dialog, under the Align section, set Relative to to First Item[6] and left-click on the Align middle of target button [7]. All of the dots should now be aligned onto one row.
To get
an equal amount of space between each dot, we'll use the Distribute function of the Alignment
tool. The first three buttons can be used to distribute the dots horizontally. Left-clicking on Distribute horizontal centers of targets [8] will put all the dots on top of each other. To distribute them into a row, we have to change the Offset [9], which is measured in pixels.
Changing the offset to 50 and re-clicking on Distribute horizontal centers of targets distributes the dots so that the left edge of each succeeding dot is touching the center of the preceding dot.
Offset 100 creates
a row of dots just touching each other.
Unless you've measured out your design in pixels, this is where you'll be doing some experimenting. I settled on an offset of 150.
The next thing to do is duplicate the row of dots and change the order of the colors. Switch to the Move
tool, then click on each colored dot layer and use Ctrl+Shift+D to duplicate it in place. Slide the new layers in the Layers dialog so that they're next to each other, then left-click to the right of the eye on each new dot layer to turn on the chain link [10]. Grab any of the dots and move them all down at once.
To stagger the colors on each row, we want to move the dots to the right by one and take the end dot and put it on the front. To do this, click on the link on the “purple copy” layer to detach it from the other dots [11],
then move the purple dot out of the way. Grab the rest of the dots and move them to the right, then move the “purple copy” dot to the front of the line. Choose the Alignment tool and align and distribute the dot copies as done previously.
To make it easy to create four more lines of dots, first rename each layer to be a color name followed by a number, then create a layer group for each of the two existing lines by right-clicking anywhere in the Layers list and choosing New Layer Group. Rename the layer groups “Line 1” and “Line 2” [12], then drag a set of colored dots into each one. To create a new line of dots, it's now a simple matter of selecting a “Line n” layer group and left-clicking on the Duplicate icon [13]. To move all the dots within a layer group as a group it is still necessary to link them. You can do this quickly by holding the Shift key down while clicking on the chain next to any layer within a layer group. After linking all the dots [14], use the Move tool to slide them down to their own row. Rename the layers and reorganize the dots as you go.
At this point in the process I discovered that the Alignment tool cannot be used to select and align individual layers within a layer group. It selects the entire group at once and aligns the group with respect to the canvas or to other layers or layer groups at the same level. In order to align the dots properly within the layer group, it's necessary to slide them out of the group, align them, then put them back in the group.
After creating six rows of dots, it's time to align the rows with respect to each other and to the canvas. Close all the layer groups by clicking the minus sign ('-') next to each one [15]. Select the Alignment
tool, hold the Shift key down, and click on a dot in each row of the image to cause all rows to be selected. With Relative to set to First item, click on Align left edge of target [16] to
align all the dots vertically. Change Relative to to Image [17], then click Align center of
target [18] to align the rows horizontally with respect to the canvas.
To distribute the rows evenly with respect to each other, set Relative to back to First item, then, holding down the Shift key, click on each row starting with the top one. After making sure the offset is still 150, click on Distribute vertical centers of targets [19]. To center the entire set of
dots vertically with respect to the canvas, you need to make all of the dots part of one group, otherwise each row will be centered instead. Create a new layer group and move all of the “Line n” layer groups inside of it [20]. Now when you click on any dot with the Alignment tool, the entire set of dots will be selected. Change Relative to to Image [21], set Offset to 0 [22], then click on Distribute vertical centers of targets again. The final result should be a perfectly centered, evenly distributed arrangement of dots.
After having gone through this process for the first time and having seen GIMP's strengths and weaknesses, I would choose to do these steps in a different order next time. For example, I would create all of the dots first, manually organize them into rough rows, align and distribute the rows horizontally, then create layer groups out of the rows to make vertical/image alignment and distribution easy.
Overview of Align and Distribute Functions
Here is a quick
overview of all of the alignment and distribution functions.
Align
| Relative to |
|
| First item |
Align relative to the first item chosen to be aligned. |
| Image |
Align relative to the entire image (canvas). |
| Selection |
Align relative to the current selection. |
| Active layer |
Align relative to the currently active layer. |
| Active channel |
Align relative to the currently active channel. |
| Active path | Align relative to the currently active path.
NOTE: Does not work in GIMP 2.8.
WORKAROUND: Right-click on the active path and choose Path to Selection, then align relative to the selection. |
| Alignment Buttons |
|
| Align left edge of target |
Align the left edge(s) of the chosen target(s) according to the Relative option. |
| Align center of target |
Horizontally align the center(s) of the chosen target(s) according to the Relative option. |
| Align right edge of target |
Align the right edge(s) of the chosen target(s) according to the Relative option. |
| Align top edge of target |
Align the top edge(s) of the chosen target(s) according to the Relative option. |
| Align middle of target |
Vertically align the center(s) of the chosen target(s) according to the Relative option. |
| Align bottom of target |
Align the bottom edge(s) of the chosen target(s) according to the Relative option. |
Distribute
| Distribute Buttons |
|
| Distribute left edges of targets |
Distribute the left edge(s) of the chosen target(s) according to the Offset setting. |
| Distribute horizontal centers of targets |
Horizontally distribute the center(s) of the chosen target(s) according to the Offset setting. |
| Distribute right edges of targets |
Distribute the right edge(s) of the chosen target(s) according to the Offset setting. |
| Distribute top edges of targets |
Distribute the top edge(s) of the chosen target(s) according to the Offset setting. |
| Distribute vertical centers of targets |
Vertically distribute the center(s) of the chosen target(s) according to the Offset setting. |
| Distribute bottoms of targets |
Distribute the bottom edge(s) of the chosen target(s) according to the Offset setting. |
Offset – Spacing in pixels used to determine the distribution of the selected targets.
Examples
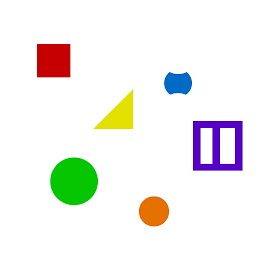 |
| Example Starting Arrangement |
Align to First Item (Red Square)
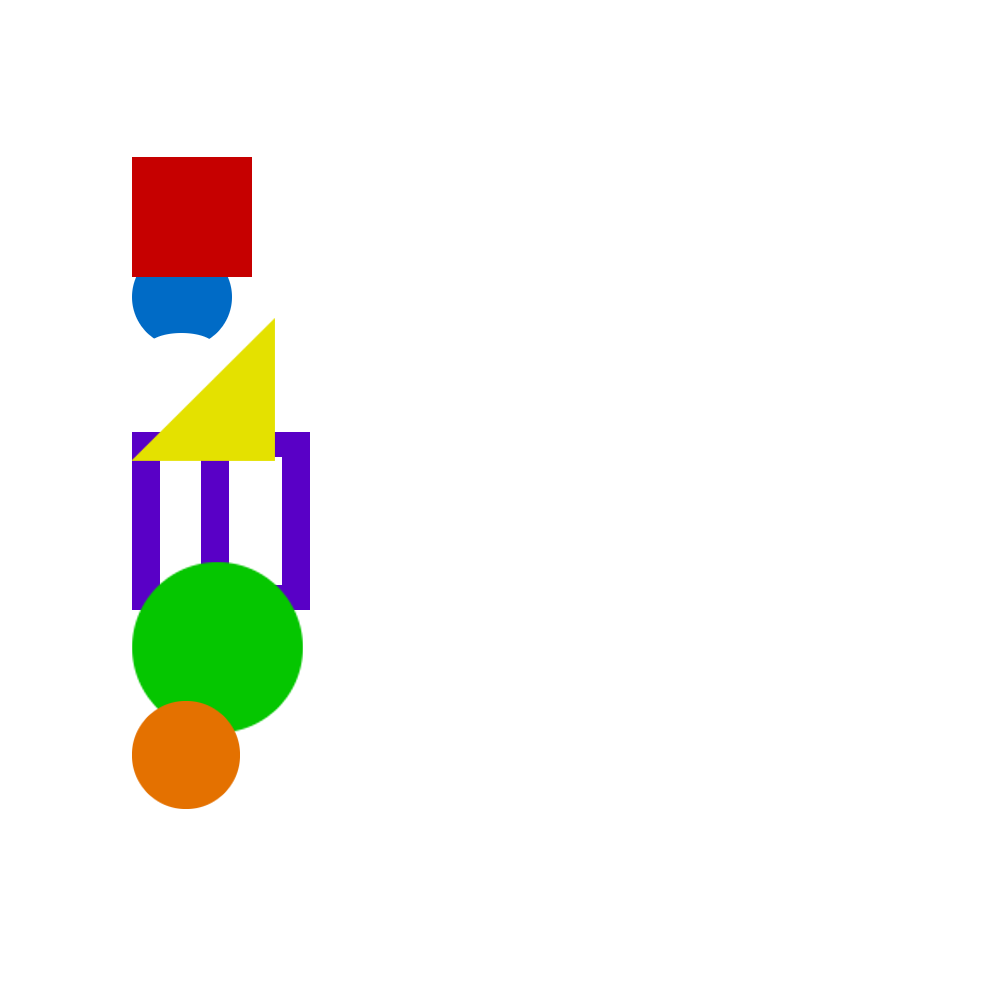 |
| Align to First Item - Left Edge |
|
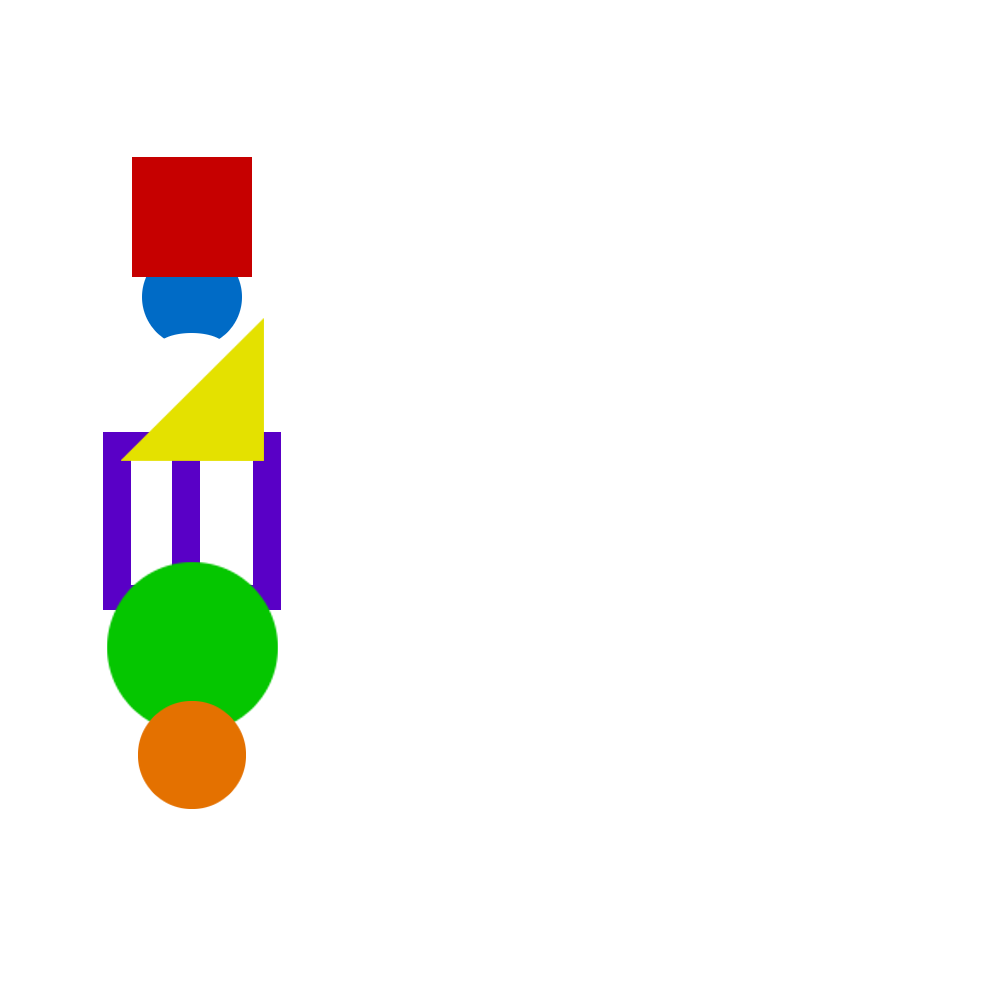 |
| Align to First Item - Horizontal Center |
|
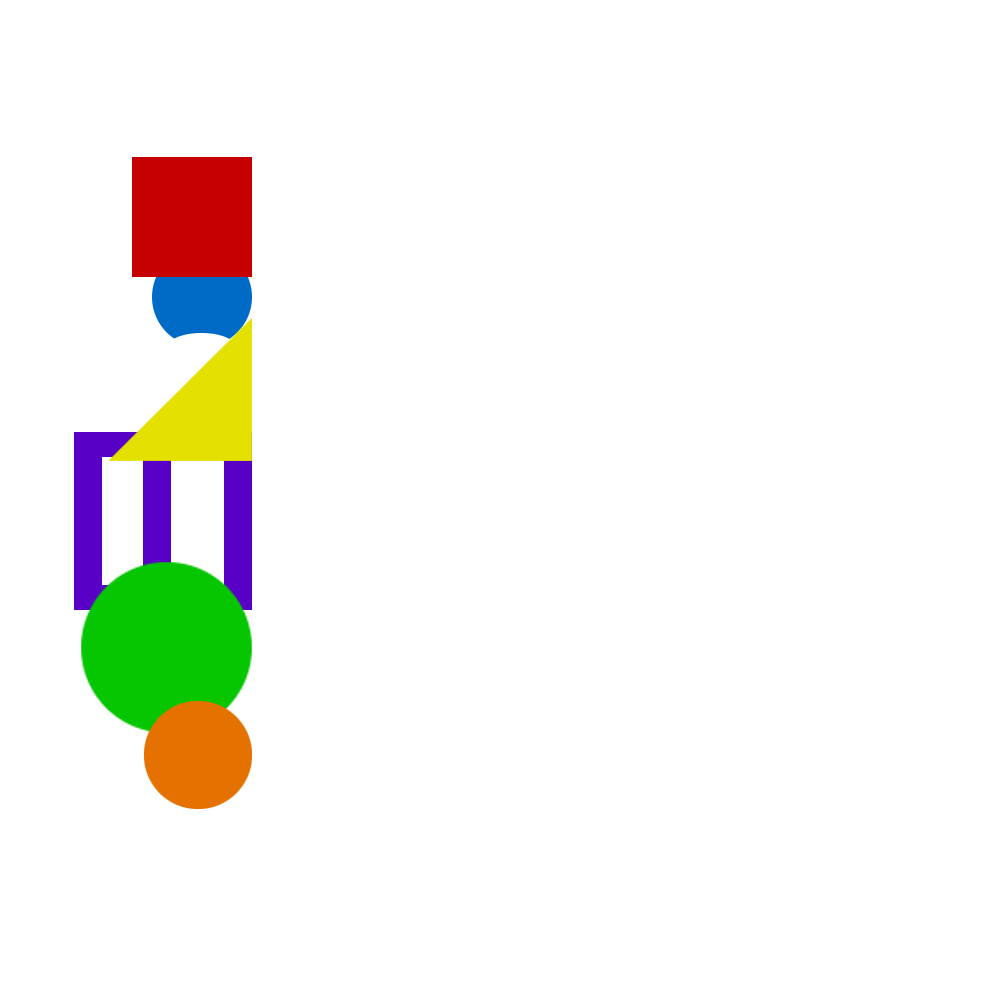 |
| Align to First Item - Right Edge |
|
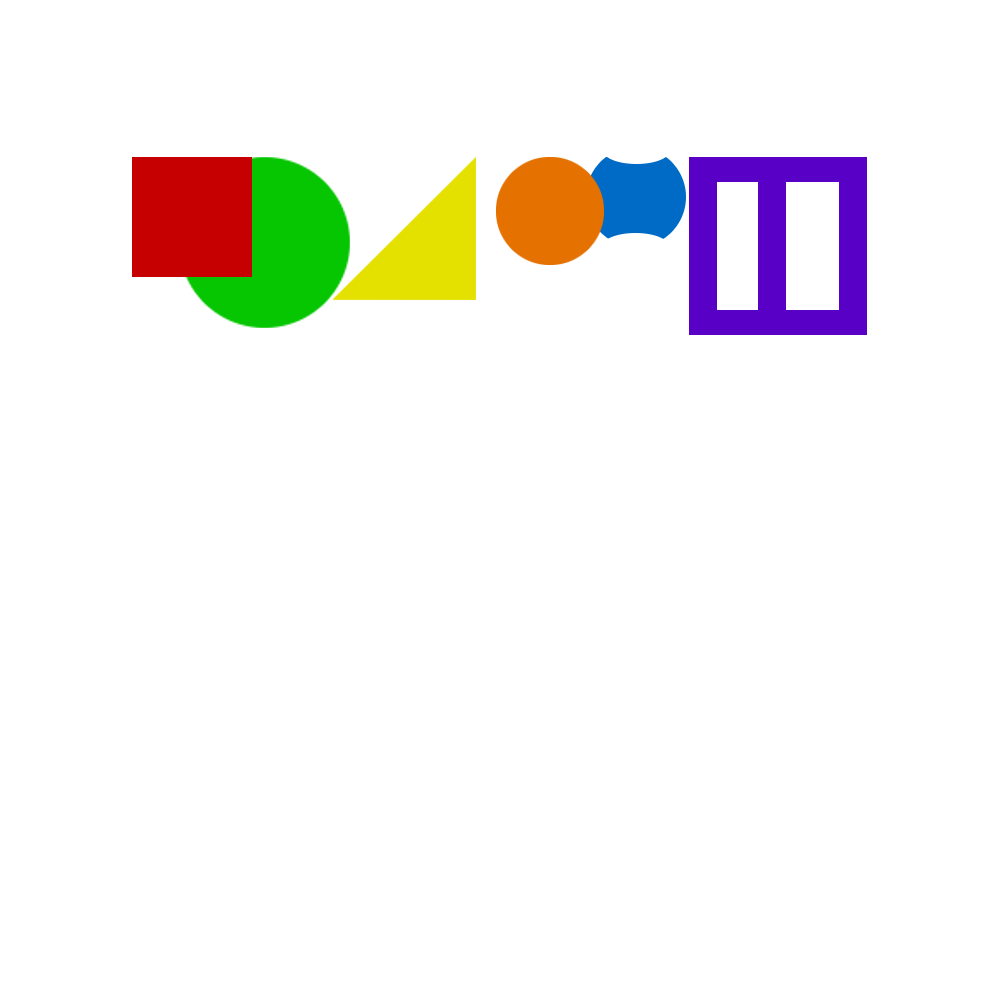 |
| Align to First Item - Top Edge |
|
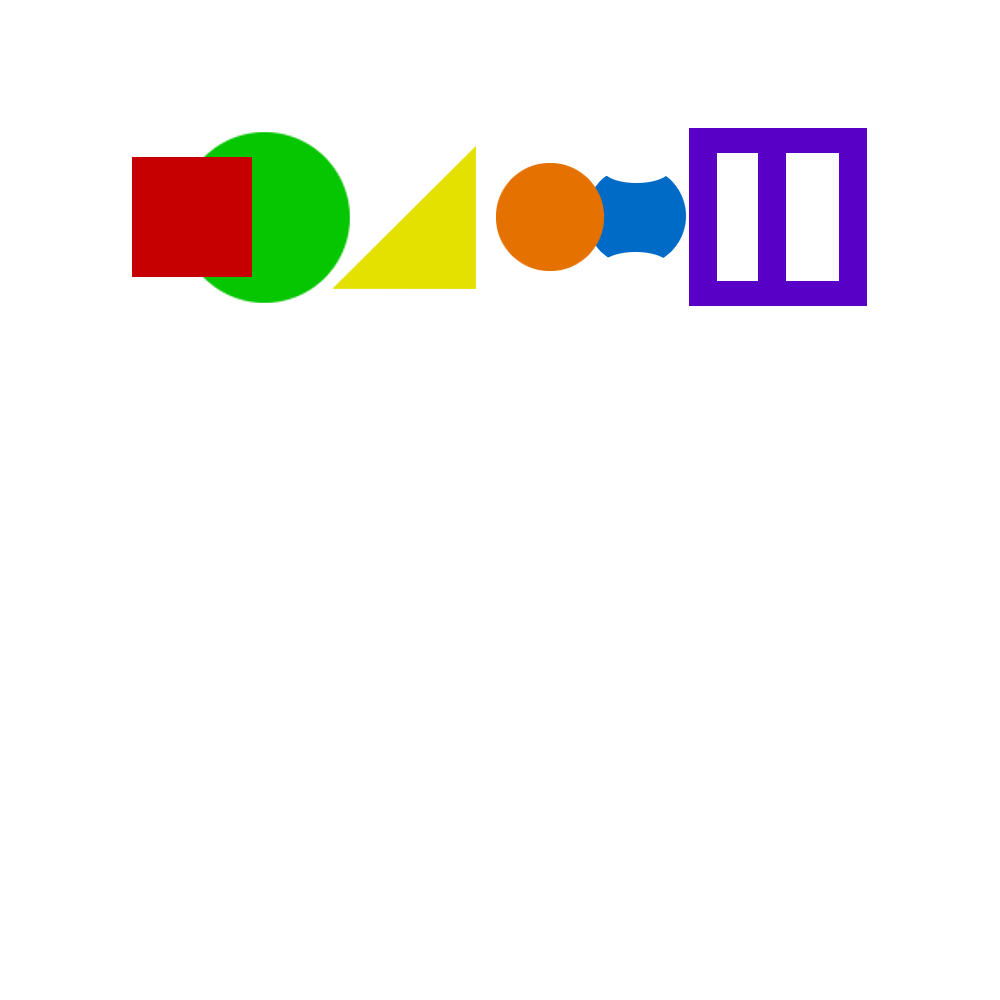 |
| Align to First Item - Vertical Center |
|
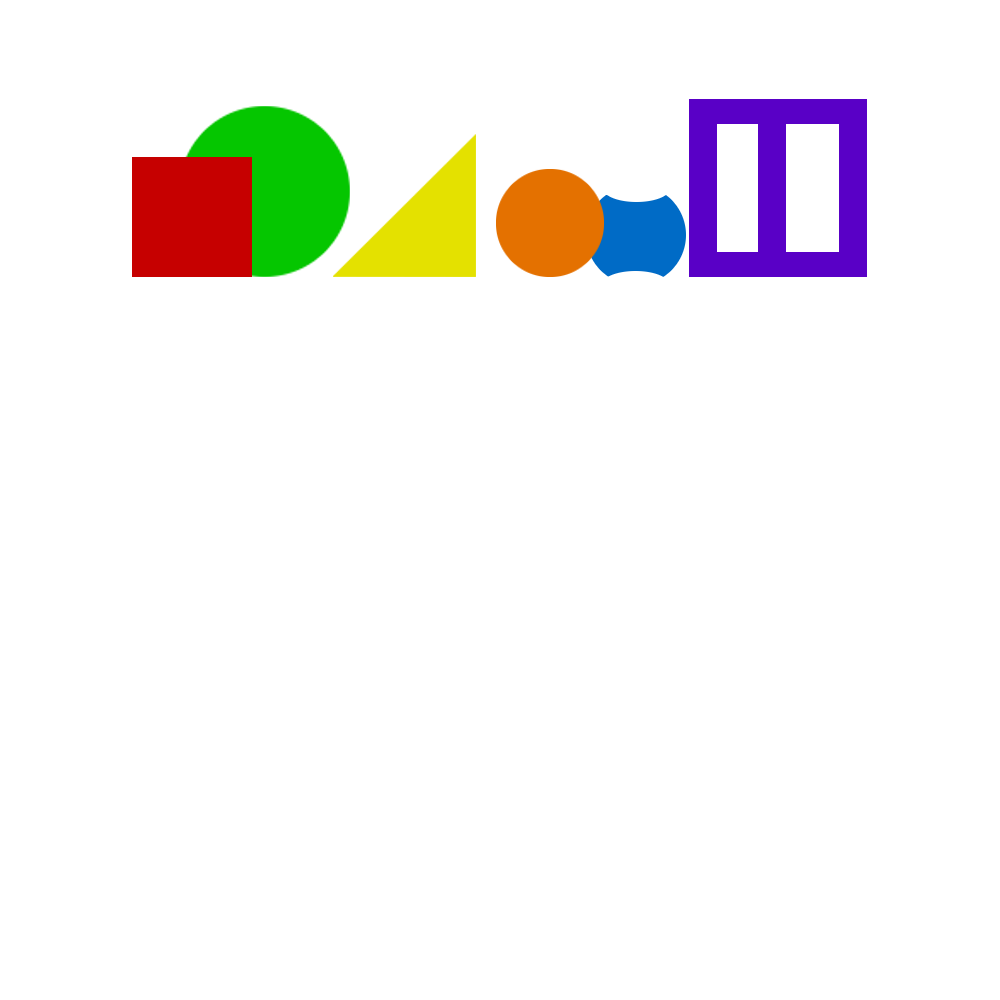 |
| Align to First Item - Bottom Edge |
|
Align to Image
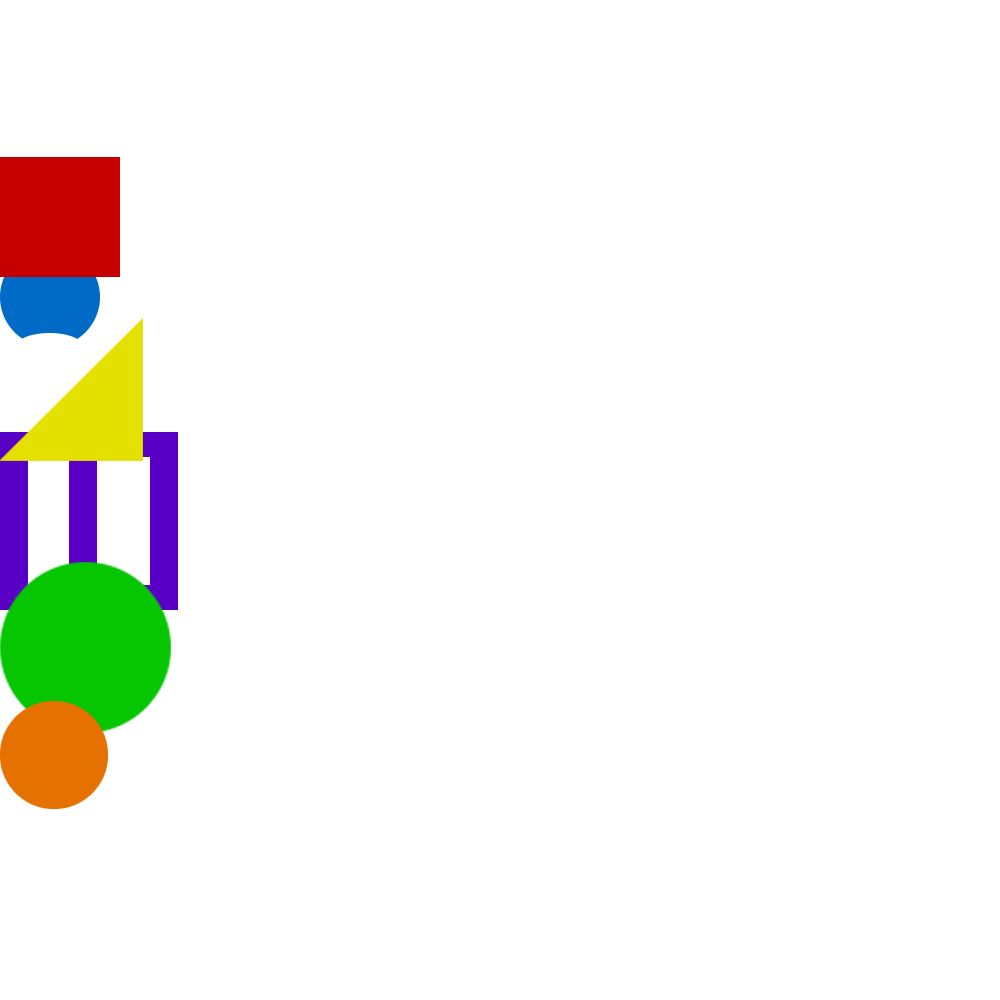 |
| Align to Image - Left Edge |
|
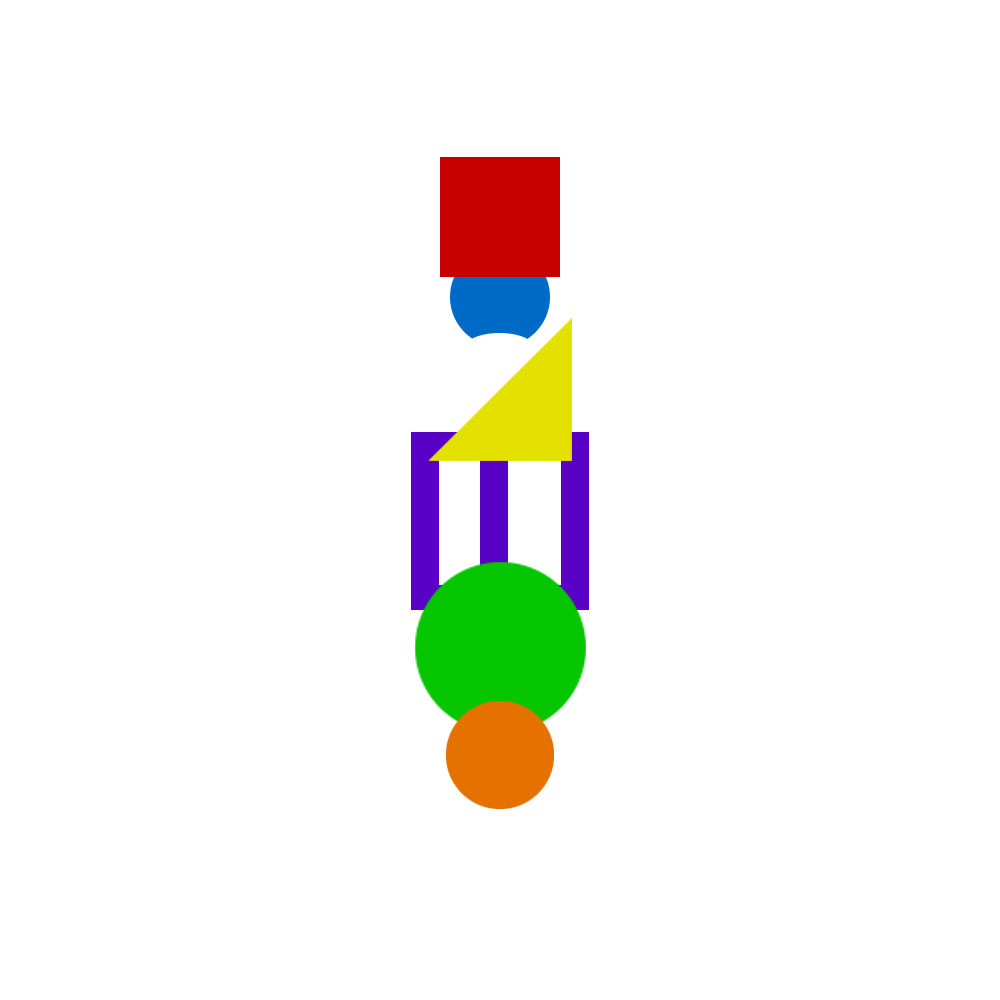 |
| Align to Image - Horizontal Center |
|
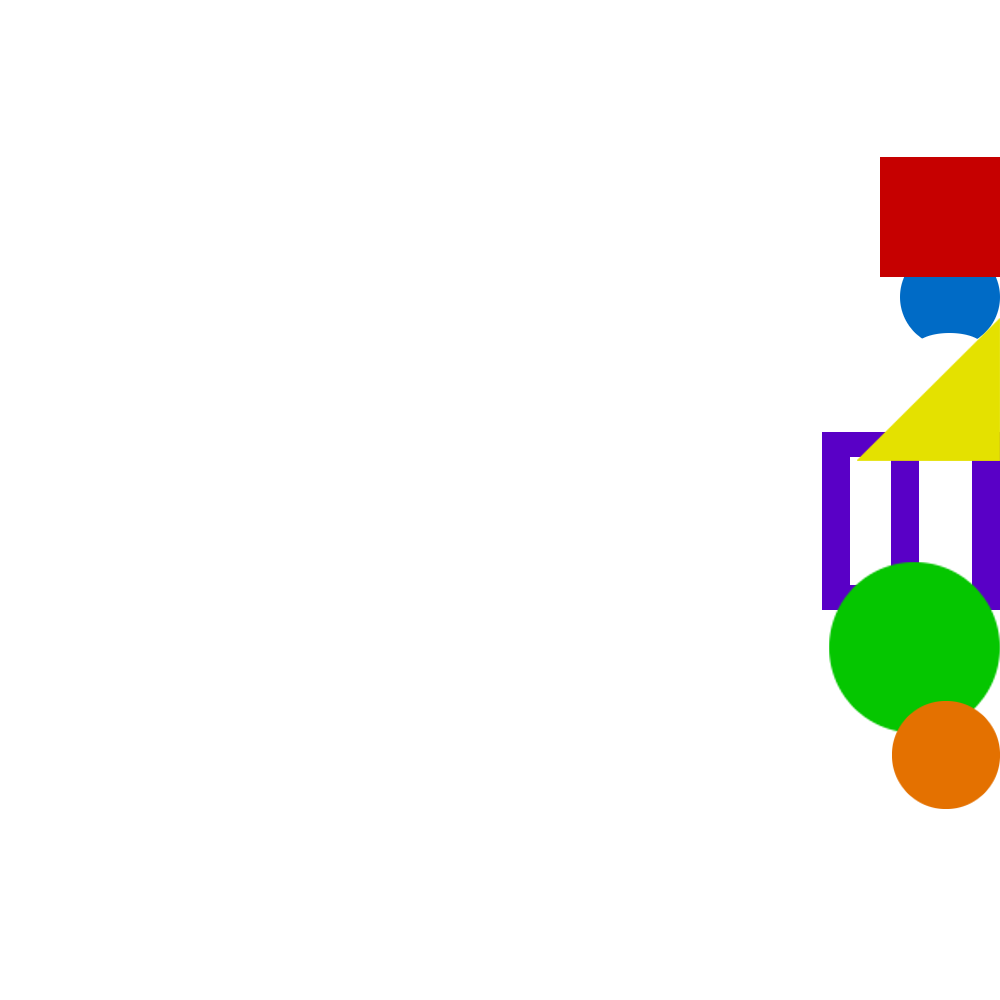 |
| Align to Image - Right Edge |
|
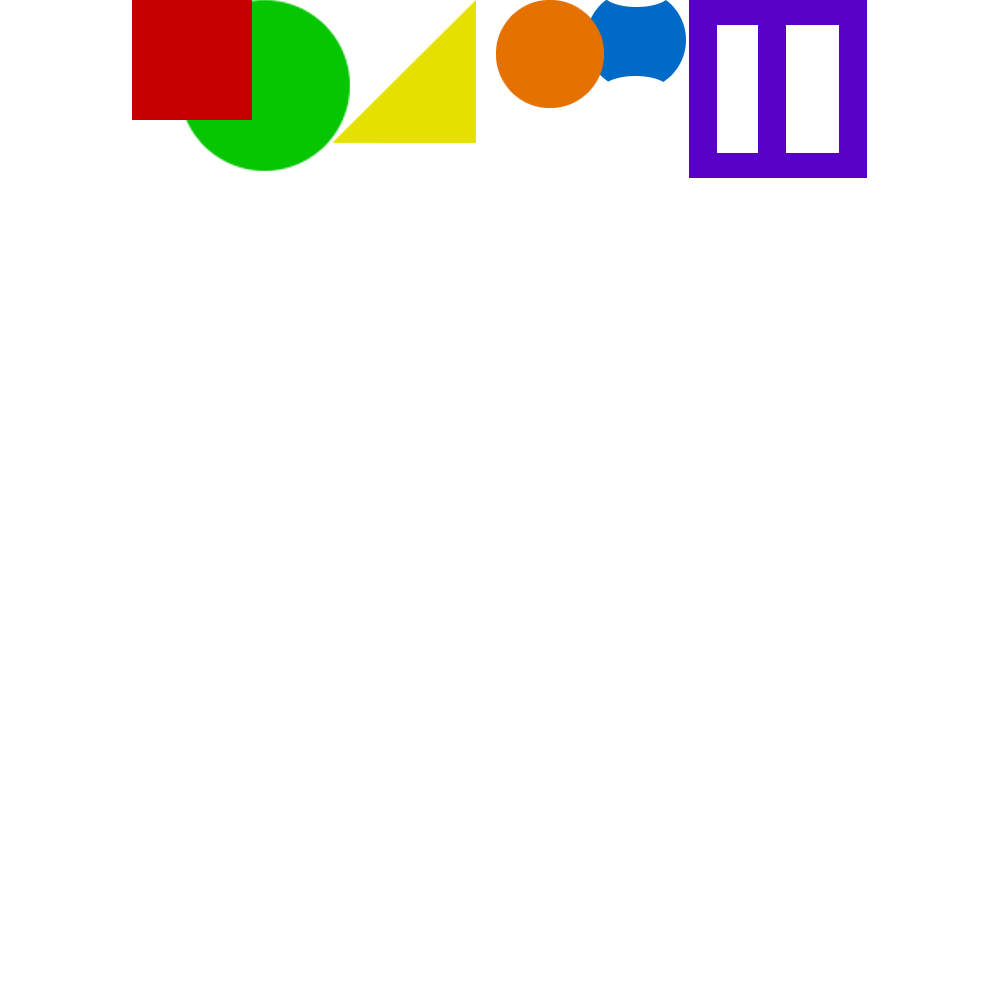 |
| Align to Image - Top Edge |
|
 |
| Align to Image - Vertical Center |
|
 |
| Align to Image - Bottom Edge |
|
Align to Selection
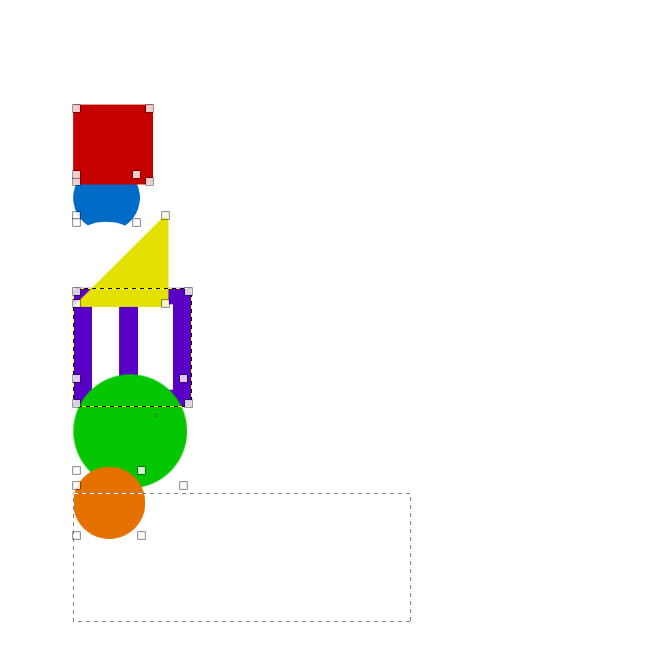 |
| Align to Selection - Left Edge |
|
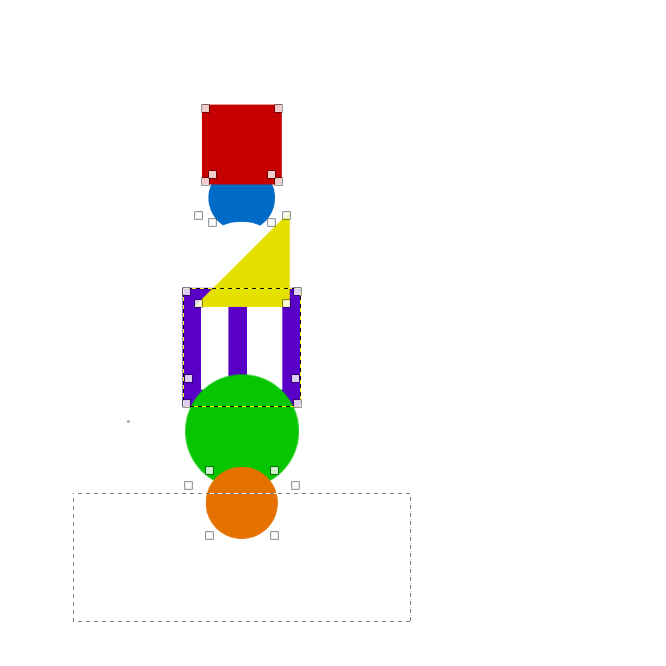 |
| Align to Selection - Horizontal Center |
|
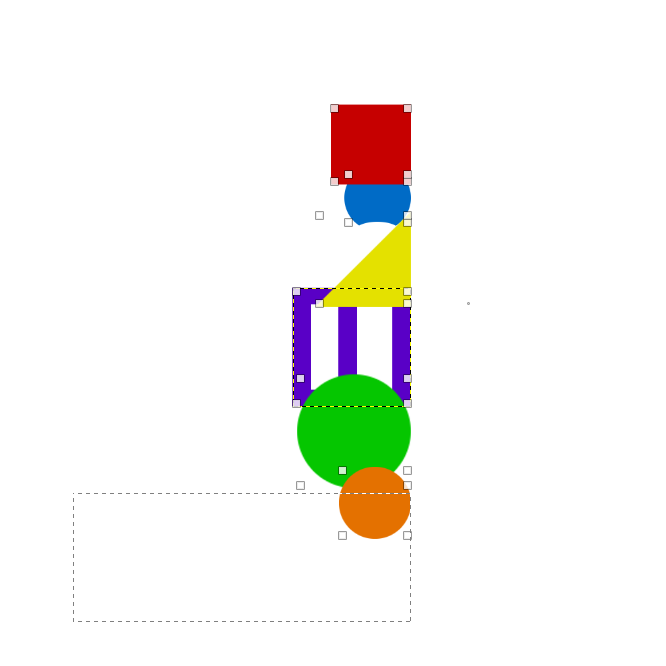 |
| Align to Selection - Right Edge |
|
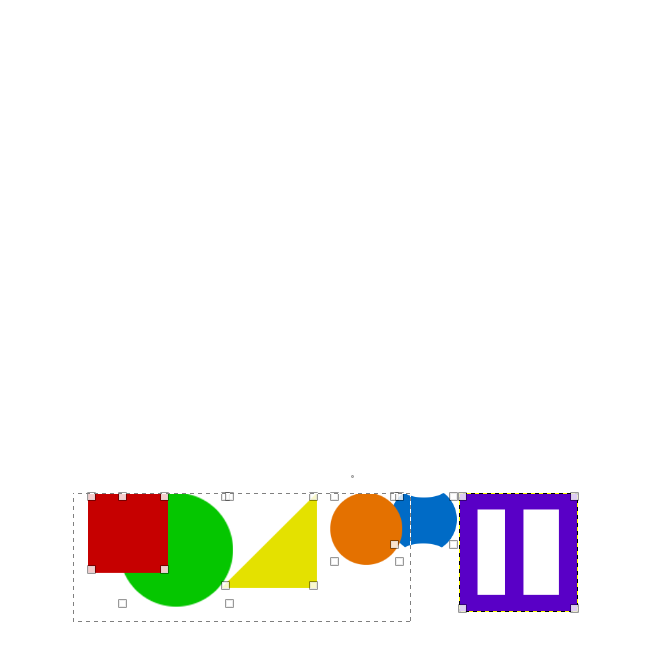 |
| Align to Selection - Top Edge |
|
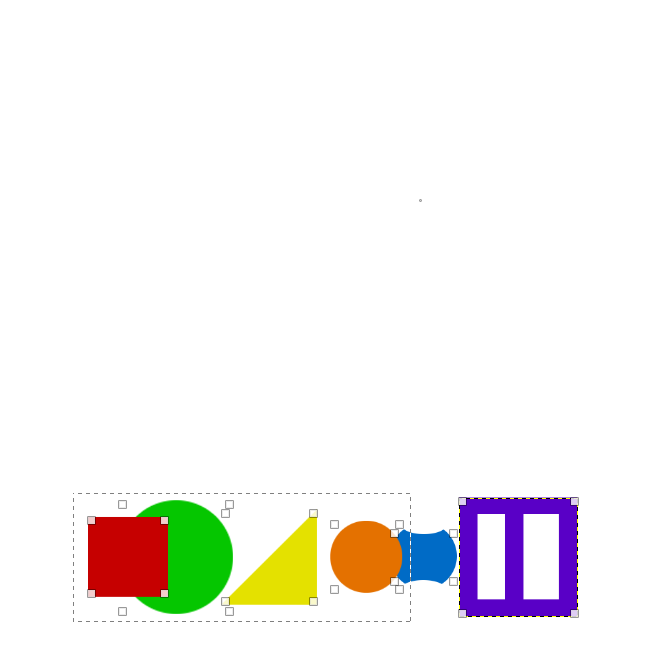 |
| Align to Selection - Vertical Center |
|
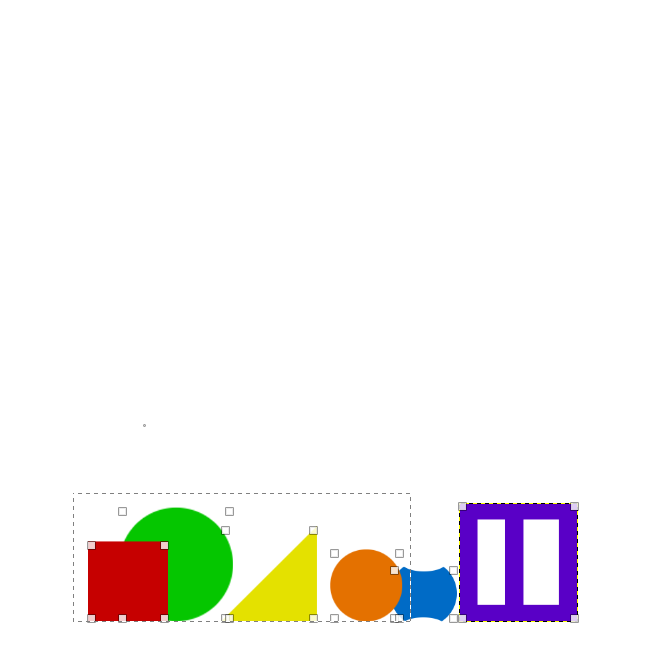 |
| Align to Selection - Bottom Edge |
|
Align to Active Layer (Purple)
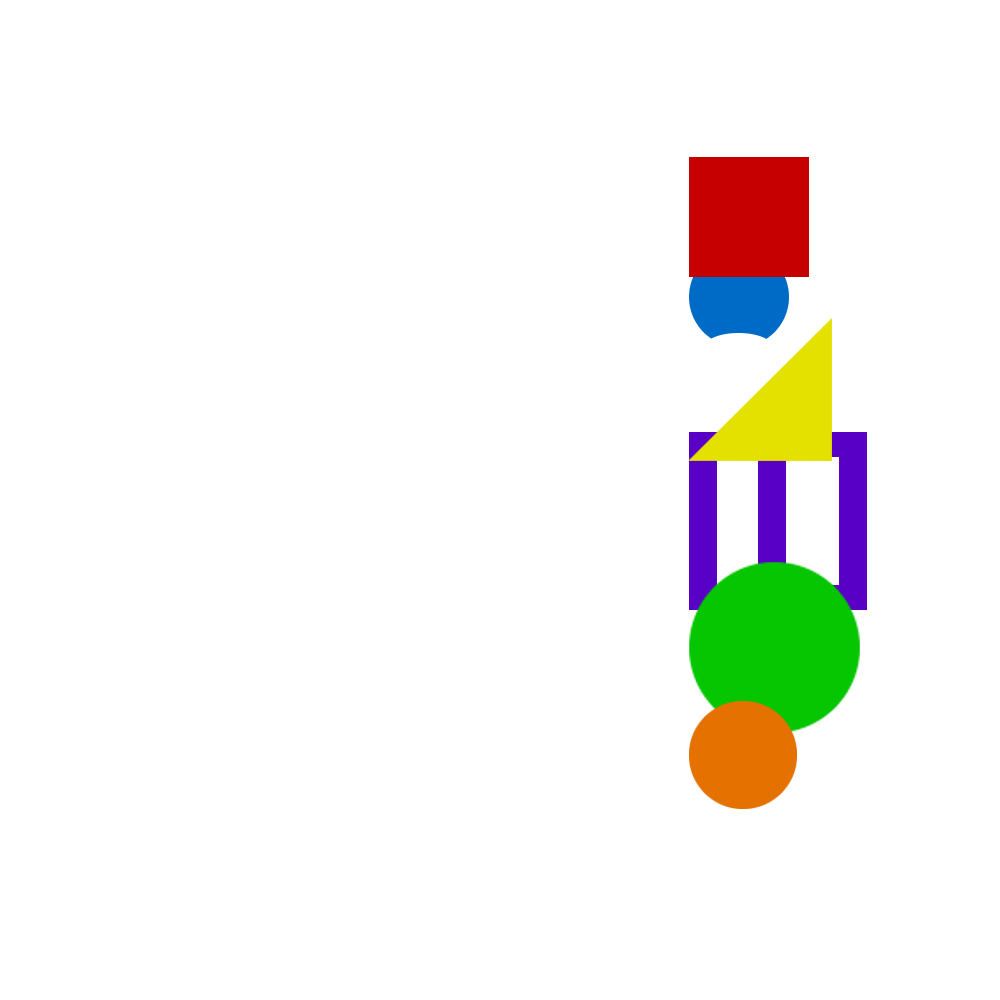 |
| Align to Active Layer - Left Edge |
|
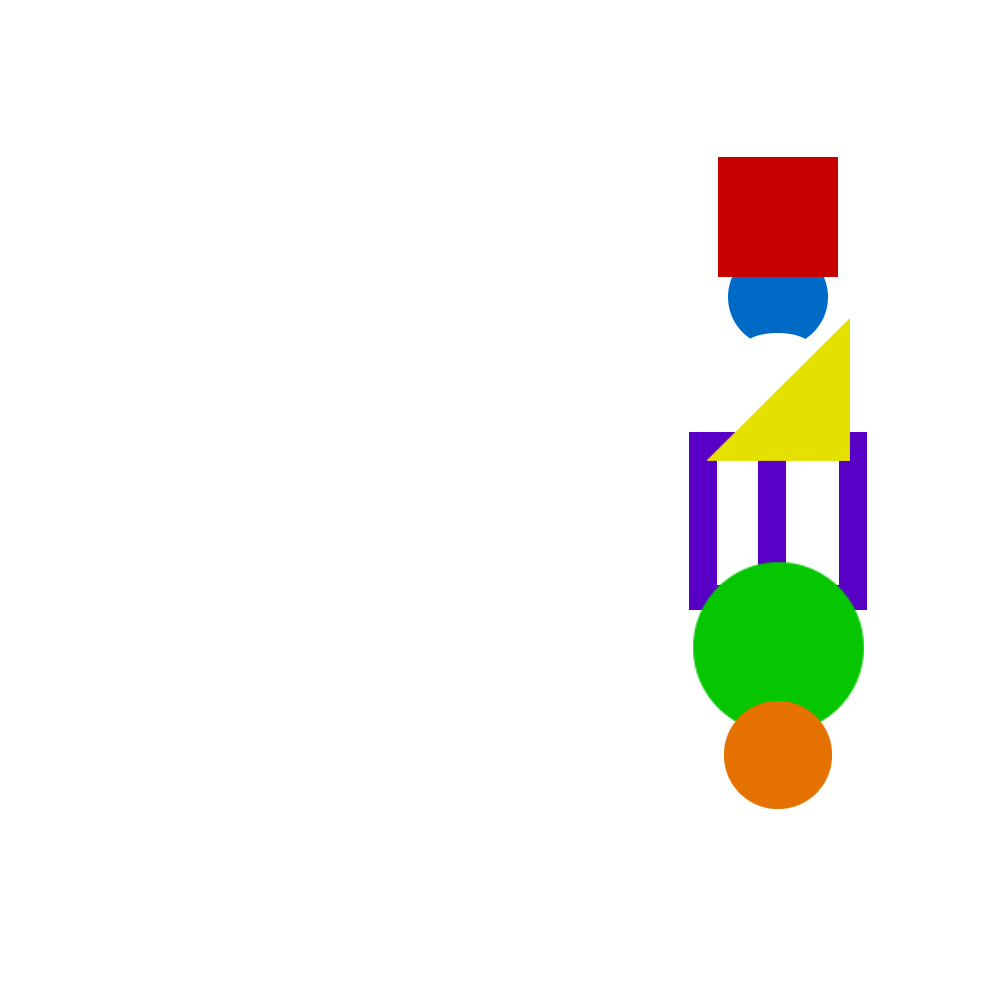 |
| Align to Active Layer - Horizontal Center |
|
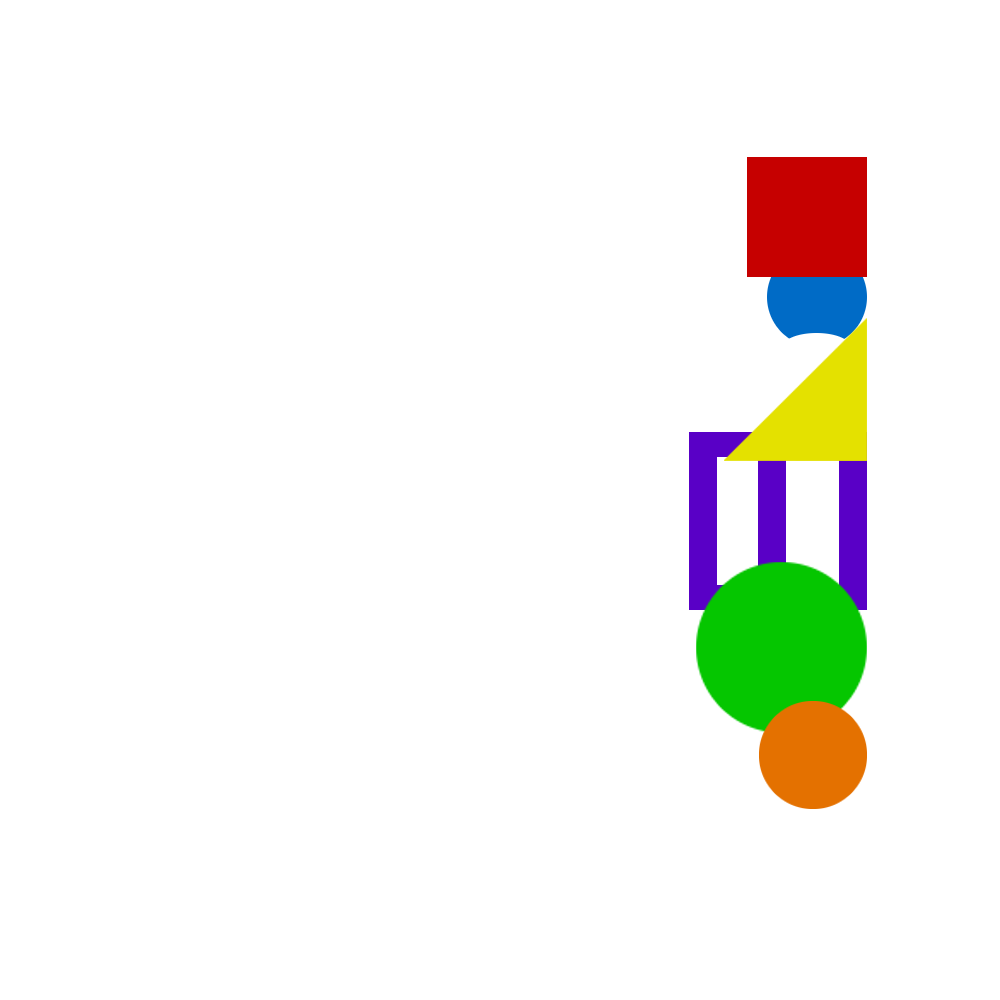 |
| Align to Active Layer - Right Edge |
|
 |
| Align to Active Layer - Top Edge |
|
 |
| Align to Active Layer - Vertical Center |
|
 |
| Align to Active Layer - Bottom Edge |
|
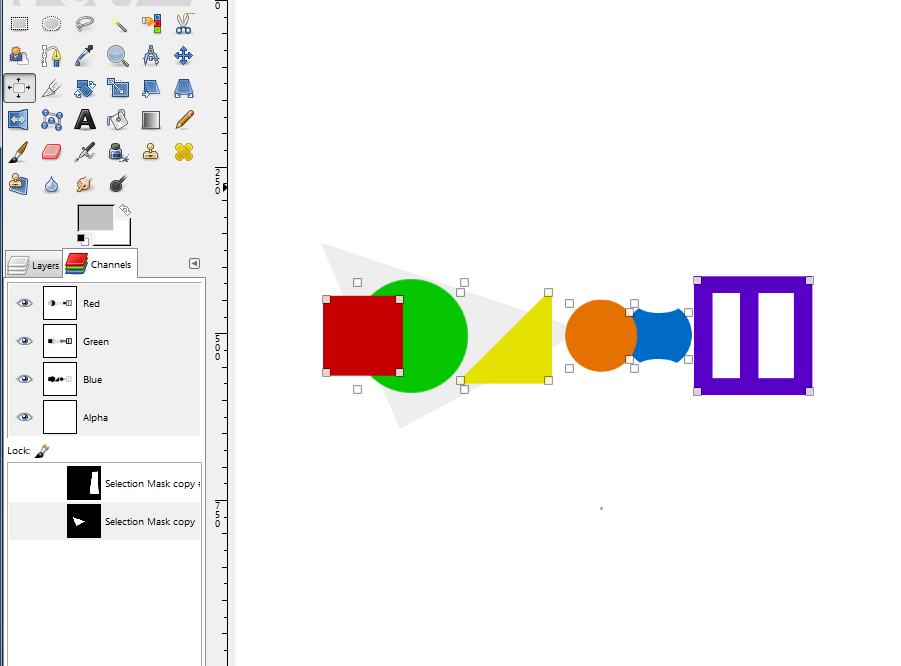
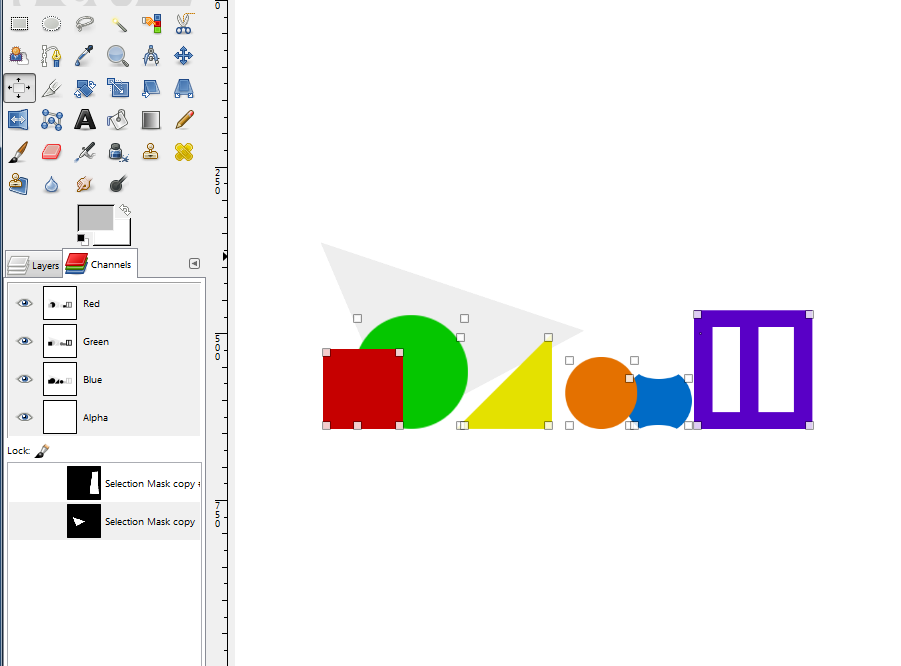
Align to Active Channel
The light gray triangle is used to show where the active channel is.
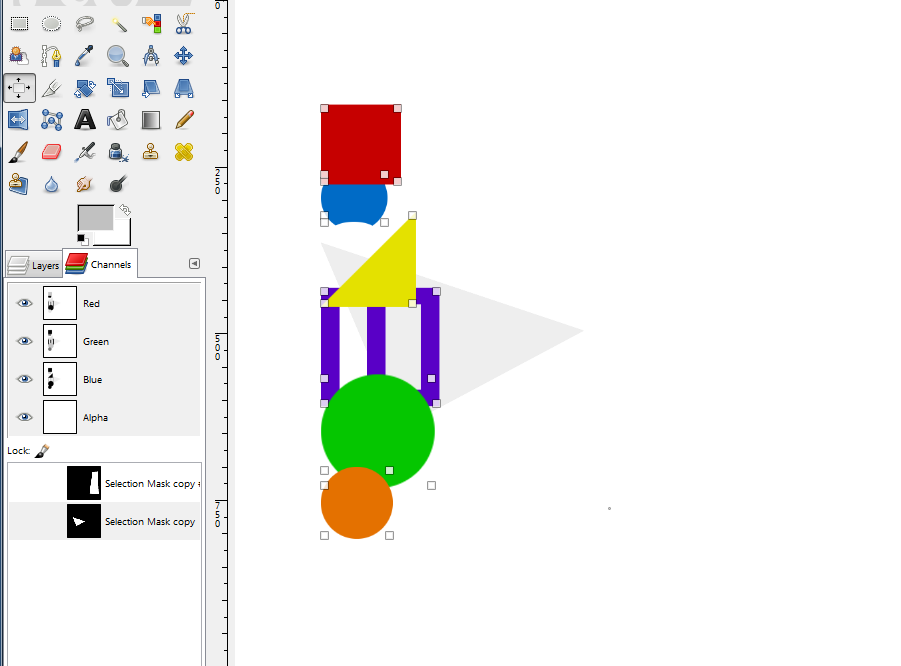 |
| Align to Active Channel - Left Edge |
|
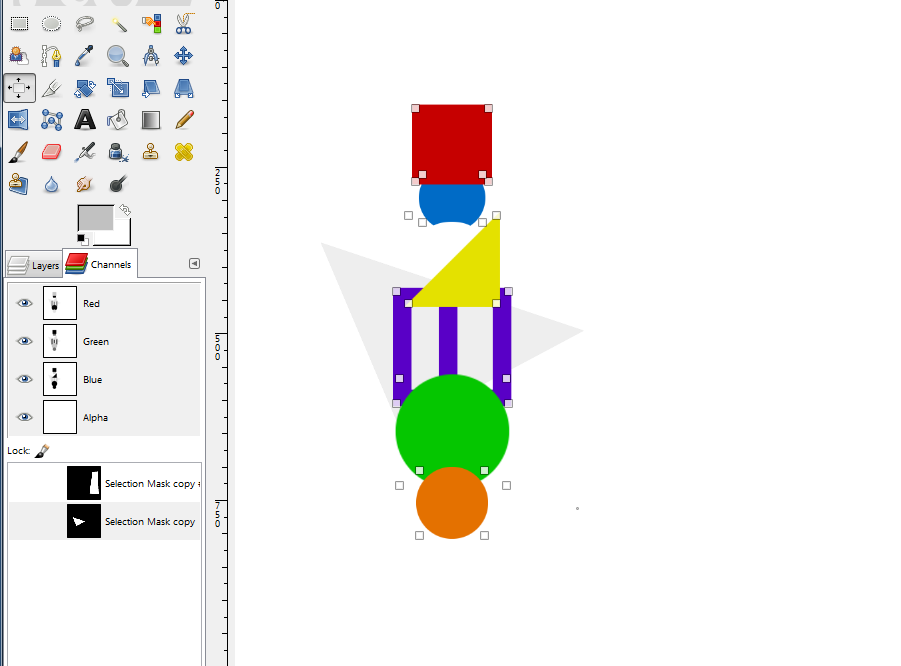 |
| Align to Active Channel - Horizontal Center |
|
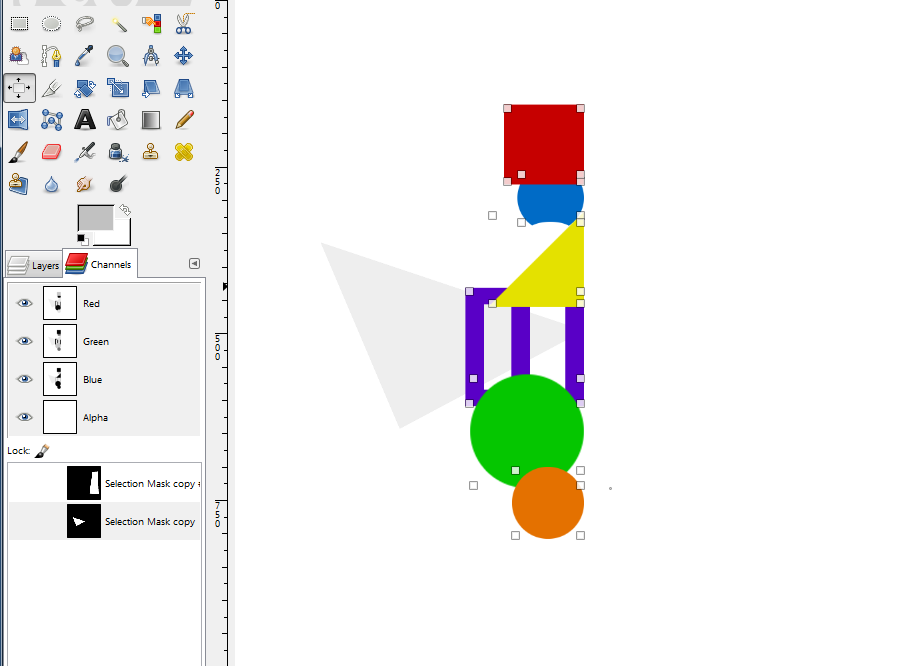 |
| Align to Active Channel - Right Edge |
|
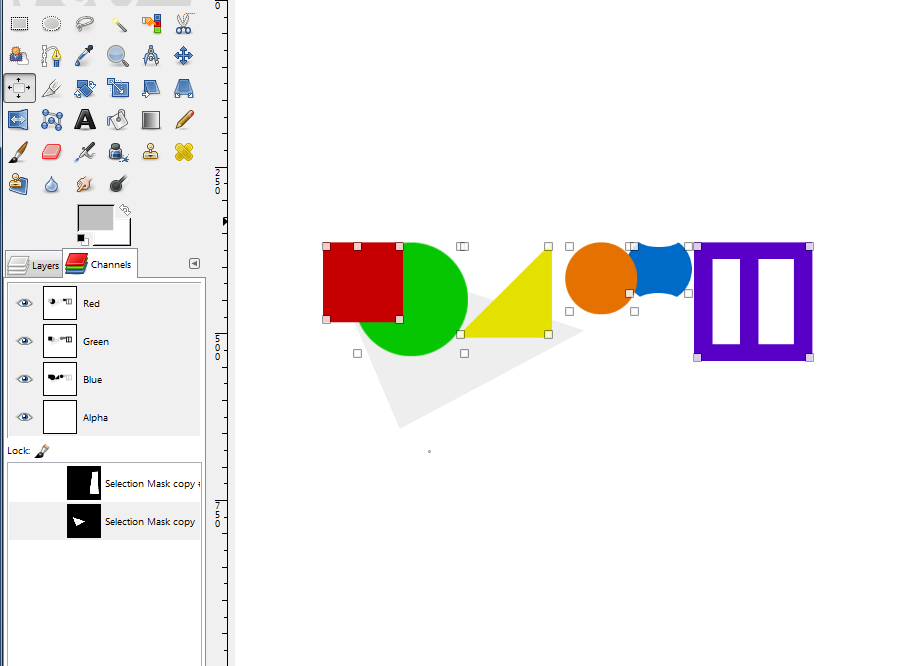 |
| Align to Active Channel - Top Edge |
|
 |
| Align to Active Channel - Vertical Center |
|
 |
| Align to Active Channel - Bottom Edge |
|
See Also
Alignment and Distribution of Graphic Elements in Inkscape




No comments:
Post a Comment