Contents ~ Posts ~ Free Images ~ GIMP 2.8 Shortcuts ~ Studio Dalio Gallery

13 November 2013

GIMP Quickie No. 4 – Creating Color Pop on Midtone Grayscale


The following steps are for GIMP 2.8.

Step 1

  • Load image into GIMP and crop as desired.


Original Image of Orange Flowers
Original Image
Canon EOS 5D Mark III at f/4, 1/160 sec, ISO-100, 200 mm

11 October 2013

Question from the Audience – Sharpening a Selection

A Learning Experience


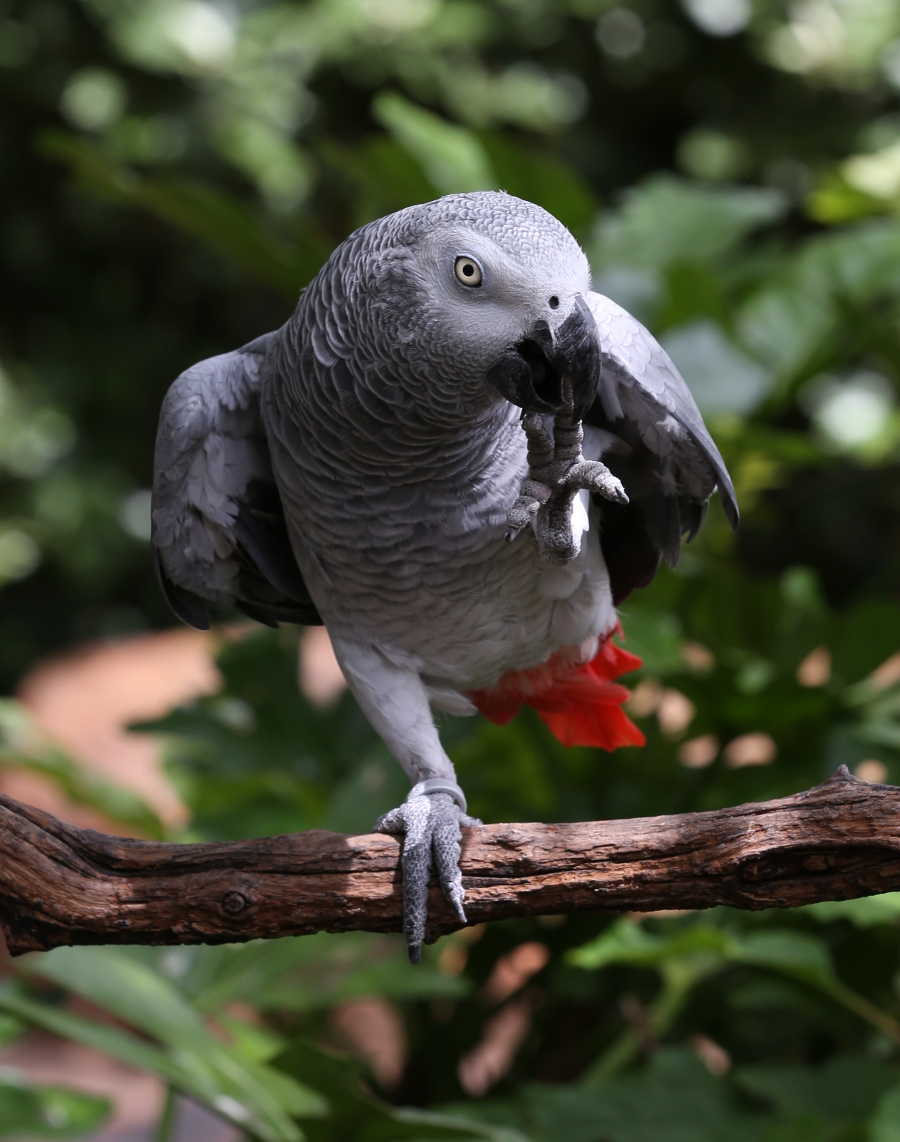
A reader asked me if it were possible to use the grain extract / grain merge sharpening technique on a selection. Taking the question literally and having never tried that before, I immediately opened GIMP and started experimenting. Let's go through the process of sharpening only the face of this African gray parrot and see what we learn.

African gray parrot
African gray parrot

09 October 2013

GIMP Quickie No. 3 – Creating a Pencil Sketch from a Photo


Step 1


  • Load photo into GIMP.
  • Colors > Desaturate
  • Luminosity
  • OK

Luminosity Desaturation


03 October 2013

A Non-Destructive, Adjustable Method for Cutting Out an Image

The Black and White of Masking


In a previous tutorial I described a way to cut out irregular images using the Free Select tool. I used to use that technique frequently, but it's very time consuming, causes a lot of work for the left-mouse-button finger, and leaves a sharp edge unless either you remember to feather the selection before deleting the cutout area or you use the Blur or Smudge tool to soften the edge. It's also destructive to the image and, if you make a mistake, it's painful to fix it.

I have since switched over to using masks. Not only is a mask quicker and easier to use, it doesn't affect the original image, so recovering from mistakes is simple, and if you use a soft brush you automatically get blurred edges. You want blurred edges so that the cutout image blends smoothly into whatever it's in front of.

This tutorial describes how to create the following image using a mask to cut out the background.
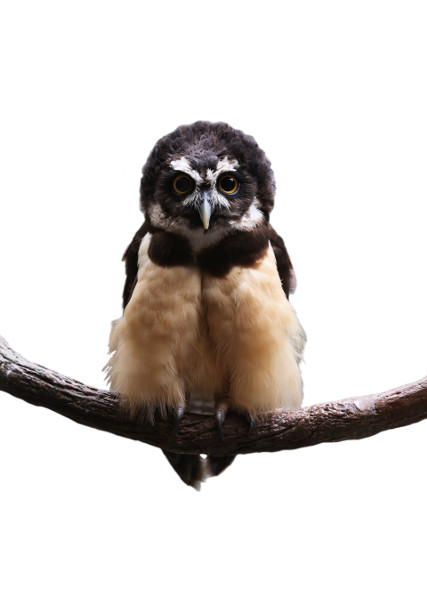

Spectacled Owl with No Background
Let me give you my two hoots' worth.

25 September 2013

How to Create a Textured Background Using Color Functions and Bump Maps

In a previous tutorial, I described a method of creating a background using overlays of various artistic GIMP filter effects. In this tutorial, I'll describe a method of creating a textured background with a 3D look, similar to the one in the following image, using a photo of some gray stone and various functions from the Colors menu combined with Bump Mapping.


You Belong Typographic Design


16 September 2013

How to Create Weathered Text on Wood

Let's say you want to create the look of text painted on a wooden board and you want the text to look like it's been out in the weather for a long while. There are several methods you can use to distress text. You can find some of them on the web by searching for “GIMP text”, plus one of the following words: weathered, distressed, worn.

This tutorial describes how to create the following image using a photo of a gray board, some text, and a photo of a rusty metal texture that is processed and turned into a layer mask. You can download the two photos (Weathered Gray Wood 0099 and Rusty Metal 0817) from the Free Images page of my blog.


Bear Foot Cabins Sign

06 September 2013

How to Create Lightning Bolts with GIMP


GIMP is really useful for adding special effects to photos and drawings. In this article I'll describe a simple method for creating lightning bolts that can then be resized, reoriented, scaled, or otherwise processed to fit into an image.