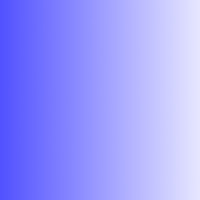
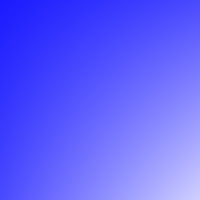
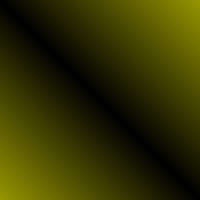
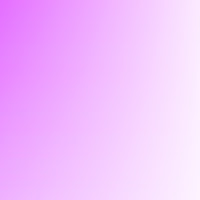
For a final comparison among the layer modes, I created several examples that visually show the effects of combining various layers.
Grayscale on Grayscale
First, I created a square non-dithered grayscale linear gradient lower layer, then made a copy and rotated it 90º for the upper layer. I chose each layer mode to see the effect. Here's a visual representation of what occurs with each layer mode.
Color on Itself
Next, I created a blue gradient with dithering and placed a 90º rotated copy above it. The blue runs from 5252ff to e6e6ff. Notice some interesting differences between the color and grayscale versions.
|
|
||||
|
|
||||
|
|
||||
|
|
||||
|
|
||||
|
|
||||
|
|
||||
|
|
||||
|
|
||||
|
|
||||
|
|
Color on a Different Color
Finally, I put a red gradient with dithering on top of the blue gradient to show color combinations. To create the red gradient, I copied the blue gradient, rotated it 90º, changed the hue to a shade of red, and reduced the saturation by 30 and the lightness by 50. The red runs from d92929 to e78992. Notice how these color image patterns are different from the blue on blue patterns because the saturation and value are different.
|
|
||||
|
|
||||
|
|
||||
|
|
||||
|
|
||||
|
|
||||
|
|
||||
|
|
||||
|
|
||||
|
|
||||
|
|
This concludes my series of articles on GIMP layer modes.
See the following articles for detailed information:


No comments:
Post a Comment